
- -Choosing the Right Carpet for Your Space
- -Essential Tools for Carpet Installation
- -Step-by-Step Carpet Installation Process
- -Tips for a Professional Finish
- -Common Mistakes to Avoid
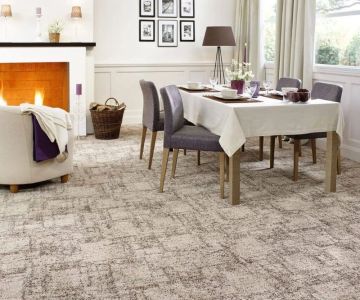
1. Choosing the Right Carpet for Your Space
Before diving into the installation process, it’s essential to choose the right carpet for your space. The right carpet can transform the feel of a room, and understanding your needs will help you make the best choice.
T&H Floor Store
BlakelyLackawanna CountyPennsylvania
1983 Scranton Carbondale Hwy, Blakely, PA 18447, USA
1.1 Types of Carpet Fibers
Carpets come in various fibers, each offering different benefits. The most common options include:
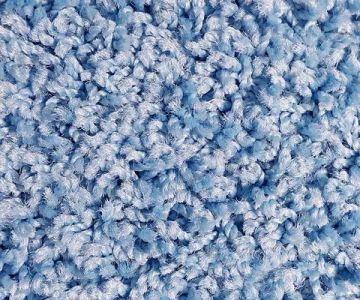
- Nylon: Durable and resistant to wear and stains, ideal for high-traffic areas.
- Polyester: Soft, eco-friendly, and comes in a wide range of colors and textures.
- Wool: Luxurious and natural, but it can be expensive and may require more maintenance.
- Polypropylene (Olefin): Moisture-resistant and affordable, great for outdoor or basement spaces.

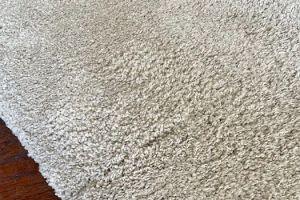
1.2 Choosing the Right Style and Texture
Carpet styles include cut pile, loop pile, and cut and loop pile. Each style has its unique look and durability. Choose a texture that suits your home’s aesthetic and function:
- Cut Pile: Soft and plush, best for bedrooms or low-traffic areas.
- Loop Pile: Durable and low-maintenance, ideal for high-traffic zones.
- Cut and Loop Pile: Combines the benefits of both cut and loop, adding texture and resilience.
2. Essential Tools for Carpet Installation
Having the right tools will make your carpet installation much easier and more efficient. Below are the essential tools you'll need for a successful DIY carpet installation:
2.1 Carpet Knife
A high-quality carpet knife is essential for making clean, straight cuts along the edges of your carpet. A utility knife can also work, but a specialized carpet knife is designed to provide more control.
2.2 Tack Strips
Tack strips hold the carpet in place. They’re nailed along the perimeter of the room, and they should be installed before laying the carpet down.
2.3 Carpet Stretcher
A carpet stretcher helps stretch the carpet tightly across the floor, which is crucial for achieving a smooth and professional finish. This tool is especially useful for larger rooms where you need to pull the carpet taut.
2.4 Knee Kicker
A knee kicker is used for smaller areas to position the carpet accurately. It’s a manual tool that you push with your knee to help stretch and position the carpet.
2.5 Carpet Tape
For areas where seams meet, carpet tape helps secure the pieces together. It’s easy to use and provides a seamless look when installed correctly.
3. Step-by-Step Carpet Installation Process
Now that you’ve selected your carpet and gathered your tools, it’s time to install it! Follow these steps for a successful DIY carpet installation:
3.1 Prepare the Room
Before installing carpet, ensure the room is clean and free of any furniture. Remove any old flooring if necessary, and inspect the subfloor for damage or imperfections. You may need to replace or repair the subfloor to ensure a smooth surface.
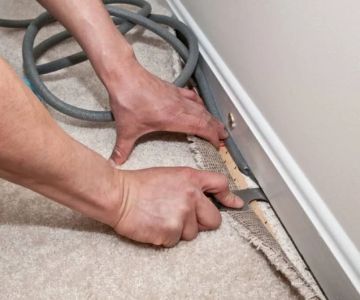
3.2 Install the Tack Strips
Next, install tack strips around the perimeter of the room, about half an inch away from the walls. These strips will hold the carpet in place, so make sure they are secured with nails and evenly spaced.
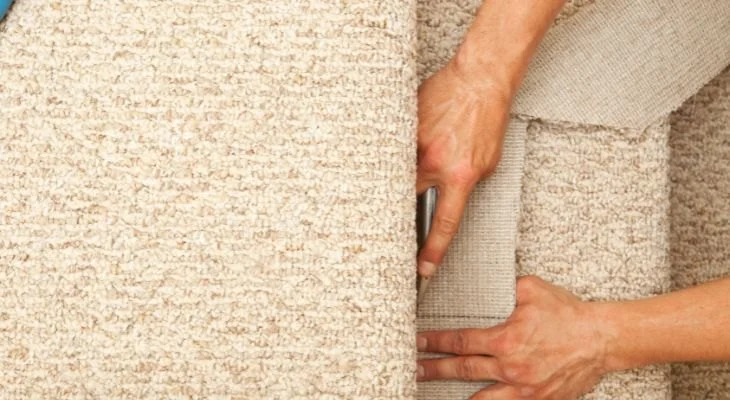
3.3 Lay the Carpet
Unroll the carpet and lay it across the room, leaving extra material along the edges for trimming. Use a carpet stretcher or knee kicker to stretch the carpet and ensure a smooth, wrinkle-free installation.
3.4 Trim the Edges
Use a carpet knife to trim the excess carpet along the edges of the room. Be sure to leave a small gap between the carpet and the wall to account for expansion and contraction.
3.5 Secure the Carpet
Once the carpet is stretched and trimmed, secure it using carpet tape along the seams and tack strips. Press the carpet firmly into the tack strips to ensure it stays in place.
4. Tips for a Professional Finish
To achieve a polished, professional look, consider these tips:
4.1 Seamless Joints
If your room requires multiple carpet pieces, make sure the seams are properly aligned and tightly secured. Use a seam roller to press down the edges and avoid any gaps or bumps.
4.2 Clean the Carpet
After installation, clean the carpet by vacuuming it thoroughly. This will help remove any dust or fibers left from the installation process, leaving the carpet looking fresh and clean.
4.3 Let the Carpet Settle
After installation, allow the carpet to settle for 24-48 hours before walking on it or moving furniture back in. This ensures that the carpet has had enough time to stretch and settle properly.
5. Common Mistakes to Avoid
Avoiding these common mistakes will ensure a smoother and more successful carpet installation:
5.1 Not Prepping the Subfloor
If the subfloor is uneven or damaged, it can cause the carpet to wear unevenly. Be sure to inspect and repair the subfloor before beginning the installation.
5.2 Ignoring the Carpet Grain
Carpet fibers can have a grain, so be mindful of the direction in which you lay the carpet. Install the carpet in the same direction for a consistent look across the room.
5.3 Skipping the Stretching Step
If the carpet isn’t stretched properly, it can cause wrinkles, uneven wear, and even early damage. Always make sure to stretch the carpet tightly across the room.


 Dalene Flooring Carpet One4.0 (42 reviews)
 Frank's Carpet4.0 (56 reviews)
 Lumber Liquidators4.0 (102 reviews)
 The Home Depot4.0 (901 reviews)
 Luxury Floors Inc4.0 (5 reviews)
 Messner Flooring, Pittsford4.0 (362 reviews)
 How to Keep Your Carpet Clean Without Spending a Fortune
 How to Remove Tough Carpet Stains Quickly and Easily
 Carpet Care Essentials Every Homeowner Needs
 The Benefits of Installing Carpet in Your Home Office: Comfort and Style
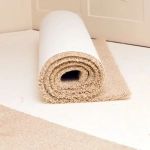 Why Carpet Padding Matters: Comfort and Protection for Your Carpet
 The Best Carpet for Hot Climates: Keep Your Home Cool & Comfortable