
- pre-installation-planning - how preparation impacts carpet performance
- subfloor-readiness-check - moisture, leveling, and structural basics
- installation-do-s-guidelines - professional practices that ensure durability
- installation-don-ts-mistakes - common errors homeowners should avoid
- real-project-installation-cases - lessons from real home renovations
Why Carpet Installation Quality Matters More Than Most Homeowners Expect
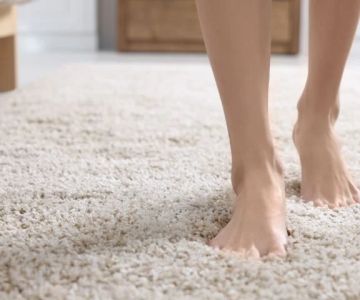
Carpet installation often looks simple from the outside—roll it out, secure it, and the room feels finished. But in reality, carpet installation do’s and don’ts can make the difference between a floor that lasts for years and one that starts bubbling, wrinkling, or wearing unevenly within months.
Many homeowners underestimate how much preparation and precision are involved. A poorly installed carpet can affect comfort, safety, and even indoor air quality. That is why understanding proper installation practices is just as important as choosing the right carpet itself.
Tile Town Carpet One
LiverpoolOnondaga CountyNew York
Route 57 Bayberry Plaza, Liverpool, NY 13090, USA
Pre-Installation Planning That Sets the Foundation
1. Measuring rooms accurately before purchase
One of the most overlooked steps in carpet installation is accurate measurement. Even small miscalculations can lead to wasted material or visible seams.
Professional installers often measure multiple times from different angles because walls are rarely perfectly straight, especially in older homes.

Worldwide Wholesale Floor Coverings
Lawrence TownshipMercer CountyNew Jersey
2750 U.S. Rte 1, Lawrence Township, NJ 08648, USA
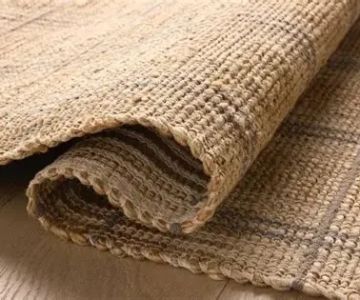
2. Choosing the right carpet type for installation method
Different carpets behave differently during installation. High-density nylon carpets stretch differently compared to plush polyester styles. Choosing the wrong combination can lead to long-term fitting issues.
A homeowner in Arizona once selected a soft plush carpet for a high-traffic hallway, only to experience early matting due to poor compatibility with heavy use and installation tension.
Subfloor Preparation and Structural Readiness
1. Ensuring a clean, dry, and level surface
A subfloor is the foundation of any carpet installation. If it is uneven, damp, or dirty, even the best carpet will fail prematurely.
Professionals often use moisture meters and leveling tools to confirm the surface is stable before installation begins.
2. Repairing imperfections before laying carpet
Small cracks or uneven patches in the subfloor can turn into visible carpet defects over time. These imperfections may cause bumps or premature wear patterns.
Proper preparation is one of the most important carpet installation do’s and don’ts that homeowners tend to overlook.
Essential Installation Do’s for Long-Lasting Results
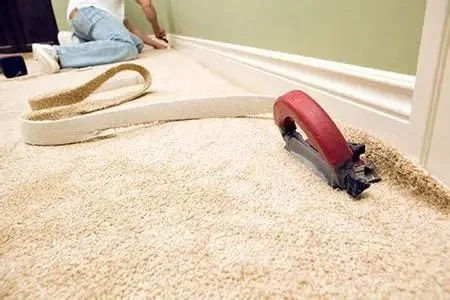
1. Do use proper carpet stretching techniques
Carpet must be stretched tightly using specialized tools to prevent wrinkles and rippling. Poor stretching is one of the most common causes of early carpet failure.
In one renovation case from Ohio, homeowners experienced visible waves within three months because the carpet was not properly power-stretched during installation.
2. Do install quality underlay padding
Underlay padding improves comfort, reduces noise, and extends carpet life. Skipping this step often leads to faster fiber breakdown.
A good pad acts like a shock absorber, especially in homes with children or pets.
3. Do maintain consistent seam alignment
Seams should be carefully placed and aligned in low-traffic areas whenever possible. Poor seam placement can make even high-quality carpet look unprofessional.
Critical Don’ts That Lead to Costly Problems
1. Don’t install over damp or unprepared floors
Moisture trapped under carpet can lead to mold growth and odor issues. This is one of the most serious installation mistakes homeowners can make.
2. Don’t ignore acclimation time
Carpet materials need time to adjust to room temperature and humidity before installation. Skipping this step can lead to expansion or contraction issues later.
Many professional installers recommend letting materials sit in the installation room for at least 24–48 hours.
3. Don’t rush cutting and trimming
Precision matters. Rushed cutting often leads to uneven edges or wasted material, especially in rooms with corners or irregular layouts.
Real Home Installation Experiences and Lessons Learned
1. The suburban renovation mistake
A family in California attempted a DIY carpet installation without proper stretching tools. Within weeks, wrinkles formed across the living room. Eventually, they had to hire professionals to redo the entire project, doubling their initial cost.
2. The moisture issue in a basement installation
A basement renovation in New York faced recurring odor problems because the subfloor moisture was never tested. After correcting the drainage and reinstalling the carpet, the issue was resolved permanently.
3. Professional guidance making a difference
Many homeowners eventually turn to trusted flooring resources like CarpetHub when they realize that installation quality is just as important as product selection. Access to expert-level guidance often prevents costly mistakes before they happen.
The key lesson from all installation experiences is simple: following proper carpet installation do’s and don’ts is not optional—it directly determines how long your flooring will last and how good it will look over time.


 Greenwich Flooring5.0 (2 reviews)
 Dalene Flooring Carpet One4.0 (42 reviews)
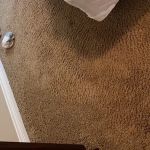 Radiant Carpets & Rugs5.0 (13 reviews)
 The Home Depot4.0 (1005 reviews)
 Raymour & Flanigan Furniture and Mattress Showroom & Outlet4.0 (3762 reviews)
 Best Tile Shrewsbury4.0 (79 reviews)
 Carpet Textures Explained: Plush, Loop, Cut Pile and More
 How to Choose Carpet That Resists Pet Hair and Stains
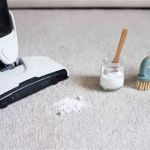 Carpet Cleaning Hacks That Actually Work for Stain-Free Homes
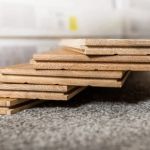 Carpet Vs. Hardwood: Choosing the Right Flooring for Your Home
 Carpet Ideas for Creating a More Relaxing Home Environment
 How to Style Carpets for Small Spaces: Smart Design Tips